Ever dream of achieving salon-quality nails at home? You might be surprised to learn that creating a flawless manicure isn’t just about expensive products or artistic talent.
A perfect at-home mani is totally achievable with the right technique and a little practice!
According to a survey, over 67% of women reported preferring to paint their nails themselves at home. But many struggle with chipping, uneven application, or polish flooding the cuticles.
Don’t worry, though! I, Hana, a manicurist with over 5 years of experience, am here to share my professional secrets and transform your home manis from frustrating to fabulous!
Here are 7 key tips that will have you painting your nails like a pro in no time:
Tip #1: Prep is Key!
Just like applying makeup, creating a flawless manicure requires a clean and prepped canvas.
First, remove any old polish with a gentle, acetone-free remover.
Next, use a nail file to gently shape your nails. Don’t saw back and forth – use short, even strokes in one direction to avoid breakage.
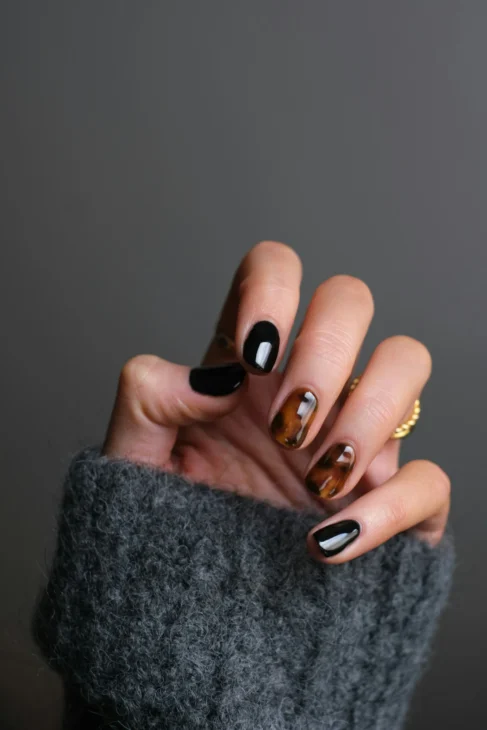
For an extra touch, buff your nails lightly with a soft nail buffer. This removes ridges and creates a smooth surface for the polish to adhere to.
Remember: Be gentle! Overbuffing can weaken your nails.
Tip #2: Don’t Skip the Base Coat!
A base coat is like a magic shield for your nails. It protects them from staining, strengthens them, and helps your polish adhere better, preventing chipping.
Apply a thin layer of base coat to all your nails, making sure to cap the free edge (the tips) for extra protection.
Tip #3: Master the Polish Application Technique
Here comes the fun part: applying the color! The key to a smooth, even application is using thin coats and focusing on your technique.
Shake the polish bottle gently between your palms for about 10 seconds (don’t overdo it – you don’t want bubbles!).
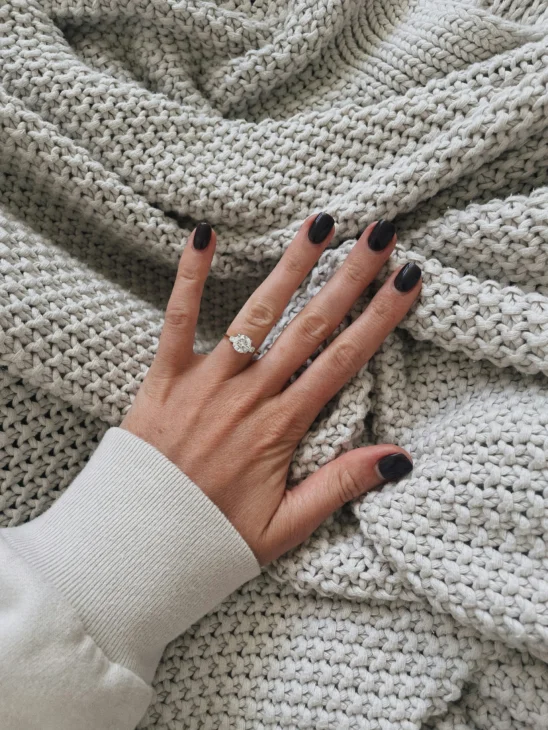
Wipe off any excess polish on the brush by gently dragging it against the rim of the bottle. Now, for the application:
- Start with the center: Place the brush in the center of your nail, a few millimeters below your cuticle. Gently press down slightly to spread the polish and create a curved line following the shape of your nail.
- Two is the magic number: Instead of globbing on a thick coat, apply two thin coats for the best results. The first coat will be slightly sheer, but that’s okay! The second coat will provide full coverage and a vibrant pop of color.
- Don’t forget the sides! After painting down the center, use the remaining polish on the brush to paint one side of your nail, then the other. Aim for a clean line without flooding the cuticles.
- Cap the free edge: Once you’ve painted the entire nail surface, don’t forget to “cap” the free edge by running the brush gently across the tip of your nail. This helps prevent chipping.
Tip #4: Patience is a Virtue!
Let each coat of polish dry completely before applying the next. This may seem tedious, but rushing will only lead to smudging and frustration.
Most polishes take 2-3 minutes to dry completely between coats.
For faster drying, consider using a quick-drying top coat or a cool blow dryer set on the low setting (hold the dryer at least 6 inches away from your nails to avoid heat damage).
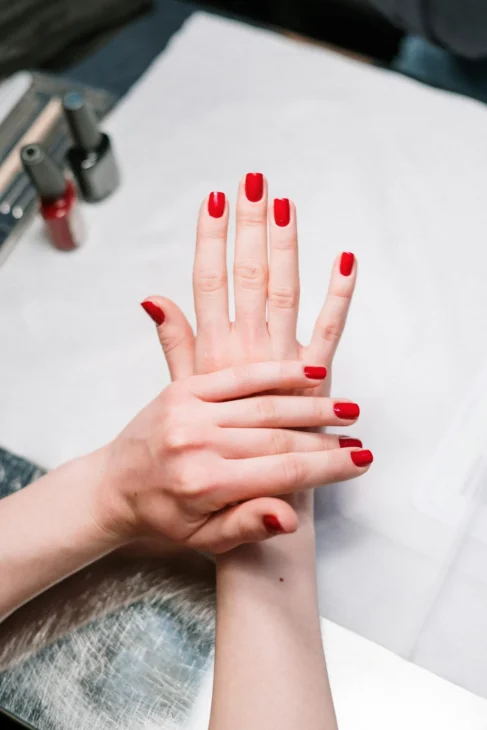
Tip #5: Clean Up Like a Pro!
Even the steadiest hands can have minor mishaps. Don’t worry – cleaning up polish mistakes is easy!
Keep a cotton swab dipped in acetone-free nail polish remover handy. Gently wipe away any excess polish on your skin without touching your freshly painted nails.
Tip #6: Top it Off!
A good top coat is the finishing touch to your perfect manicure. It seals in your color, adds extra shine, and protects your polish from chipping.
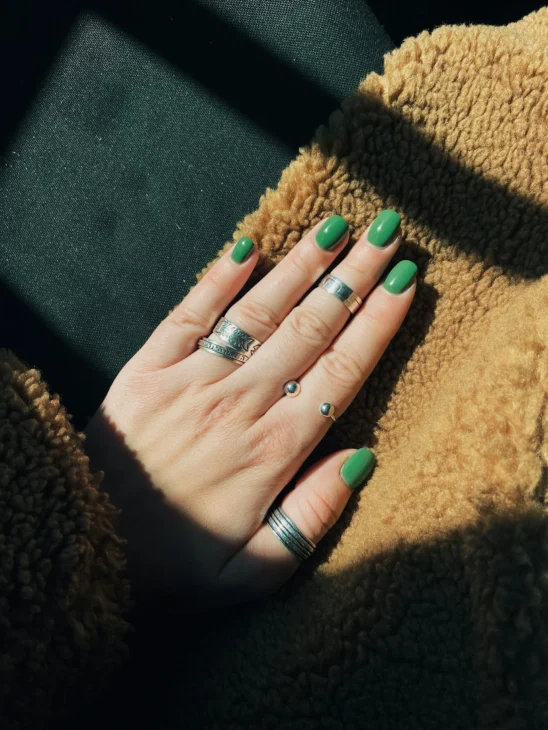
Apply a thin layer of top coat to all your nails, making sure to cap the free edge just like you did with the color polish.
Tip #7: Practice Makes Perfect!
Like any skill, mastering the art of at-home manicures takes some practice. Don’t get discouraged if your first few attempts aren’t salon-perfect. The more you practice, the more comfortable and confident you’ll become with the technique.
Conclusion
So there you have it!
With these 7 key tips and a little practice, you’ll be well on your way to achieving those flawless, salon-quality nails you’ve always dreamed of. Remember, healthy nails are the foundation of a beautiful manicure.
Maintain a good nail care routine that includes regular moisturizing and avoiding harsh chemicals.
Now that you’re armed with these professional secrets, what colors and designs will you create for your next at-home manicure? Happy polishing!
